
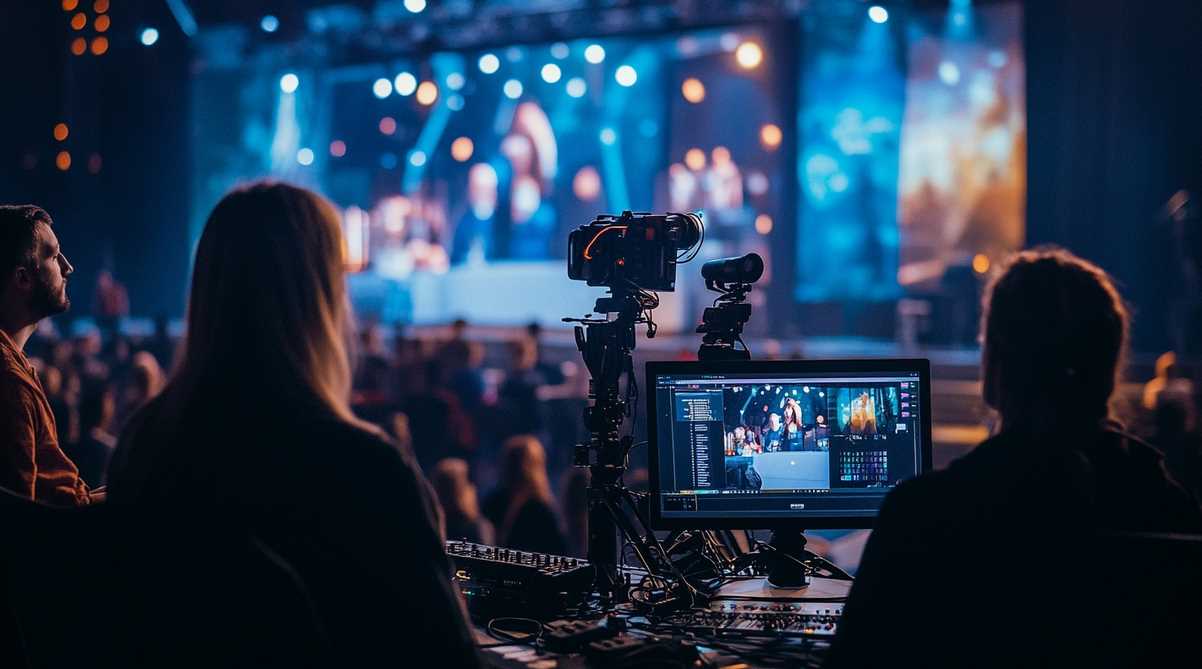
To do live streaming of an event, define your event goals, choose the right streaming platform, use professional cameras and microphones, secure a stable internet connection, and broadcast using reliable streaming software. Test all equipment before going live, engage your audience with interactive features, monitor the stream throughout the event, and record the broadcast for future use. These steps help ensure a smooth, professional, and successful live-streaming experience.
Live streaming has transformed the way events are experienced. Whether you are organising a corporate conference, wedding, charity fundraiser, music concert, sports competition, educational seminar, or product launch, broadcasting your event online allows you to reach audiences anywhere in the world. Instead of limiting attendance to those who can be physically present, live streaming makes your event accessible to viewers on multiple devices in real time. Professional production companies such as Film Your Event help businesses and organisations deliver high-quality broadcasts, but understanding the process yourself is equally valuable when planning a successful event.
The popularity of live streaming continues to grow because it provides convenience, wider audience reach, and better engagement. However, simply pointing a camera at a stage is not enough. A professional live stream requires careful planning, reliable equipment, a stable internet connection, quality audio, and an organised production workflow. Every stage, from preparation to post-event content, contributes to the overall viewing experience.
In this guide, you will learn exactly how to do live streaming of an event, covering every important step to ensure your broadcast runs smoothly and leaves a lasting impression on your audience.
Live streaming offers far more than online visibility. It creates opportunities for businesses, organisations, and event organisers to connect with audiences beyond geographical boundaries.
Some of the biggest benefits include:
Whether your audience watches from another city or another country, live streaming ensures everyone can experience your event as it happens.
Before setting up cameras or choosing a streaming platform, determine what you want to achieve.
Ask yourself:
Understanding your objectives helps you decide the equipment, platform, production style, and level of technical support required.
Selecting the correct streaming platform is one of the most important decisions.
Popular platforms include:
Each platform serves different purposes.
For example:
Choose the platform that matches your audience and event objectives.
A stable internet connection is the backbone of every successful live stream.
Even expensive cameras cannot compensate for an unreliable connection.
For professional streaming you should:
Most streaming failures happen because of poor internet reliability rather than camera problems.
Your audience expects clear visuals.
The equipment you choose depends on the size and importance of your event.
Common options include:
Ideal for professional image quality and multiple camera angles.
Excellent for long events because they provide continuous recording without interruption.
Pan-Tilt-Zoom cameras are perfect for conferences, churches, and educational events because they can be remotely controlled.
Modern smartphones can produce surprisingly good results for smaller events, although they may lack advanced production features.
Using multiple cameras creates a far more engaging viewing experience by allowing different angles and close-up shots.
Poor audio can ruin an otherwise excellent broadcast.
Viewers are more forgiving of average video than unclear sound.
Consider using:
Always monitor audio levels throughout the event to prevent distortion or unexpected silence.
Streaming software connects your cameras to the online platform.
Popular broadcasting software includes:
These programmes allow you to:
Selecting software that matches your technical ability is just as important as choosing the right camera.
Lighting dramatically improves picture quality.
Even an expensive camera cannot perform well in poor lighting.
For indoor events, use:
Outdoor events should consider the position of the sun and changing weather conditions.
Avoid placing speakers directly in front of bright windows, as this often creates dark silhouettes.
Professional broadcasts include visual branding that reinforces your organisation’s identity.
Useful graphics include:
These elements make your stream appear organised and polished while improving viewer understanding.
A successful live stream relies on preparation rather than improvisation.
Develop a production schedule that includes:
Every member of the production team should understand their role before the event begins.
Testing is one of the most overlooked parts of live streaming.
Carry out a complete rehearsal by checking:
Running a rehearsal allows you to identify problems before your audience does.
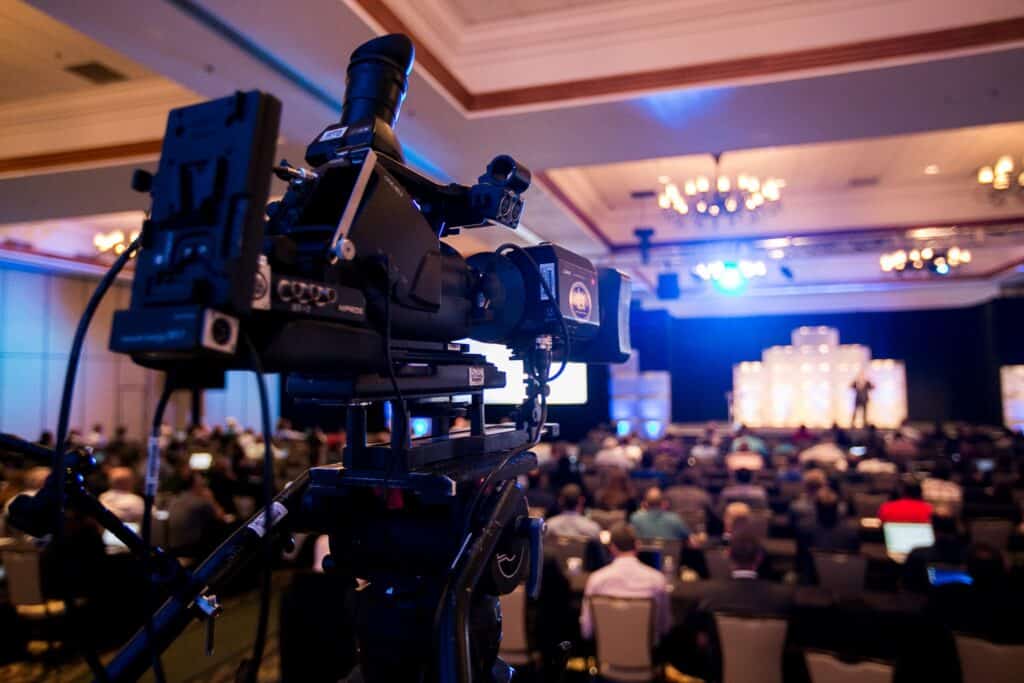
Live streaming is much more effective when viewers feel involved rather than simply watching. Audience engagement keeps people interested and encourages them to stay connected until the event finishes.
There are many ways to increase interaction during a live broadcast, including:
Assign a moderator to monitor viewer comments and respond to questions during the event. This creates a more engaging and personalised experience for online attendees.
Professional live streams rarely rely on a single camera. Using multiple camera angles makes your event look more dynamic and keeps viewers interested.
For example, you can use:
Switching between different views creates a broadcast that feels much more professional and visually appealing.
Always record your event, even if it is being streamed live.
A recording allows you to:
Many organisations continue gaining value from an event long after the live broadcast has ended by reusing recorded content.
Even the best-planned events can face unexpected technical problems. Preparing for potential issues helps minimise disruption.
Your backup plan should include:
Being prepared ensures that small technical issues do not become major problems during your live broadcast.
A successful live stream begins long before the cameras start recording. Effective promotion helps attract a larger audience and increases viewer participation.
Promote your event through:
Share the streaming link well in advance and remind your audience as the event approaches.
Once your event goes live, continue monitoring the stream from a separate device. This allows you to identify any problems immediately.
Keep an eye on:
Real-time monitoring enables your production team to fix issues before they affect the audience.
Do not end the stream abruptly. Instead, finish with a professional closing that leaves a positive impression.
Include:
A strong conclusion encourages viewers to stay connected with your organisation and attend future events.
After the event, review your broadcast analytics to understand how your live stream performed.
Useful metrics include:
These insights help improve future live-streamed events and provide valuable information about your audience.
Even experienced organisers can make mistakes that reduce the quality of a live broadcast. Avoid these common issues:
Planning ahead and testing every aspect of the production can prevent most of these problems.
To create a memorable and professional live broadcast:
Live streaming an event is no longer reserved for large organisations with extensive production teams. With the right planning, suitable equipment, reliable internet connection, professional audio, and an organised production process, anyone can deliver a high-quality online event.
The key to success lies in preparation. Choosing the right platform, testing every piece of equipment, engaging your audience, and having backup plans in place will ensure your live stream runs smoothly from start to finish. Whether you are hosting a business conference, wedding, educational seminar, product launch, charity event, or live performance, a well-executed broadcast can significantly expand your reach and create lasting value long after the event has ended.
To live stream an event professionally, you will need a camera, quality microphone, stable internet connection, streaming software, lighting, and an encoding device. Larger events may also require multiple cameras and an audio mixer.
The best platform depends on your audience and goals. YouTube Live is ideal for public events, Facebook Live works well for community engagement, LinkedIn Live suits business events, and Vimeo offers professional streaming features.
A reliable internet connection with a strong upload speed is essential. For HD streaming, at least 10 Mbps upload speed is generally recommended, although higher speeds provide greater stability.
Yes. Most live streaming software and platforms allow you to record your broadcast. This recording can be shared later, edited into shorter videos, or used for future marketing and training purposes.
You can improve streaming quality by using professional cameras, clear microphones, proper lighting, a wired internet connection, multiple camera angles, and thorough pre-event testing.